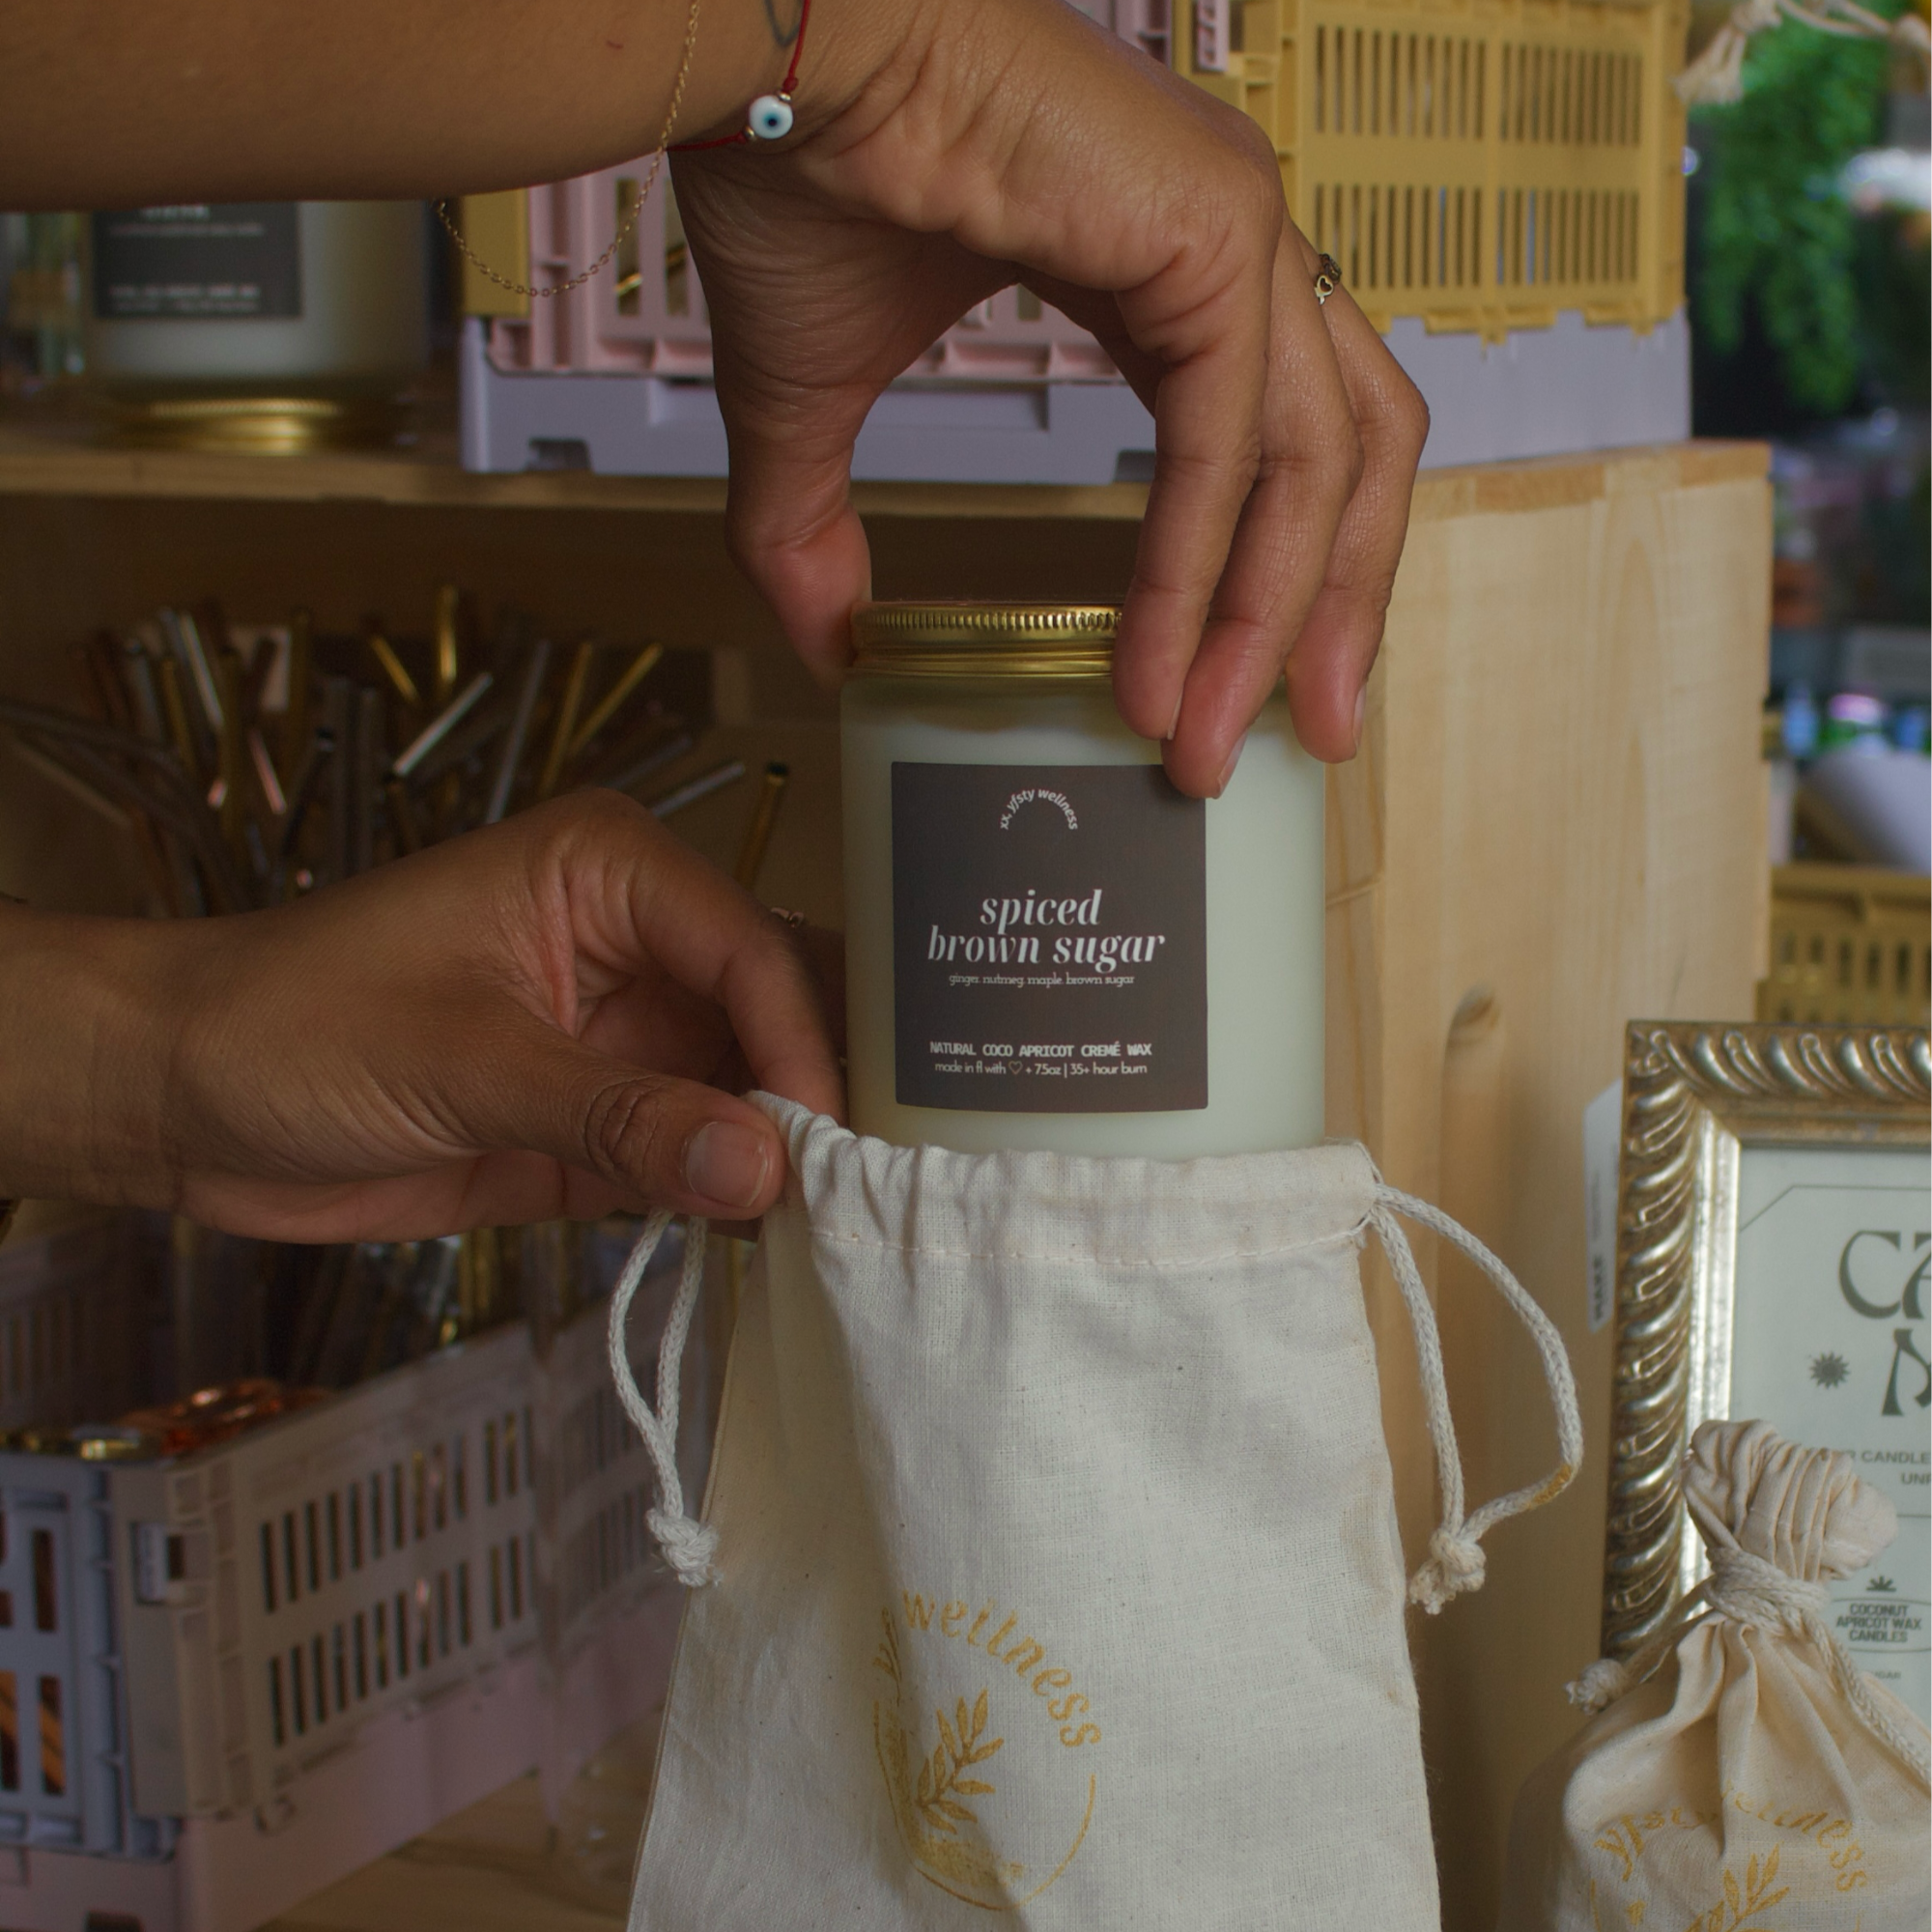
candle care guide
our candles provide a clean and enduring burn, read on to get the most out your candle, from start to finish.
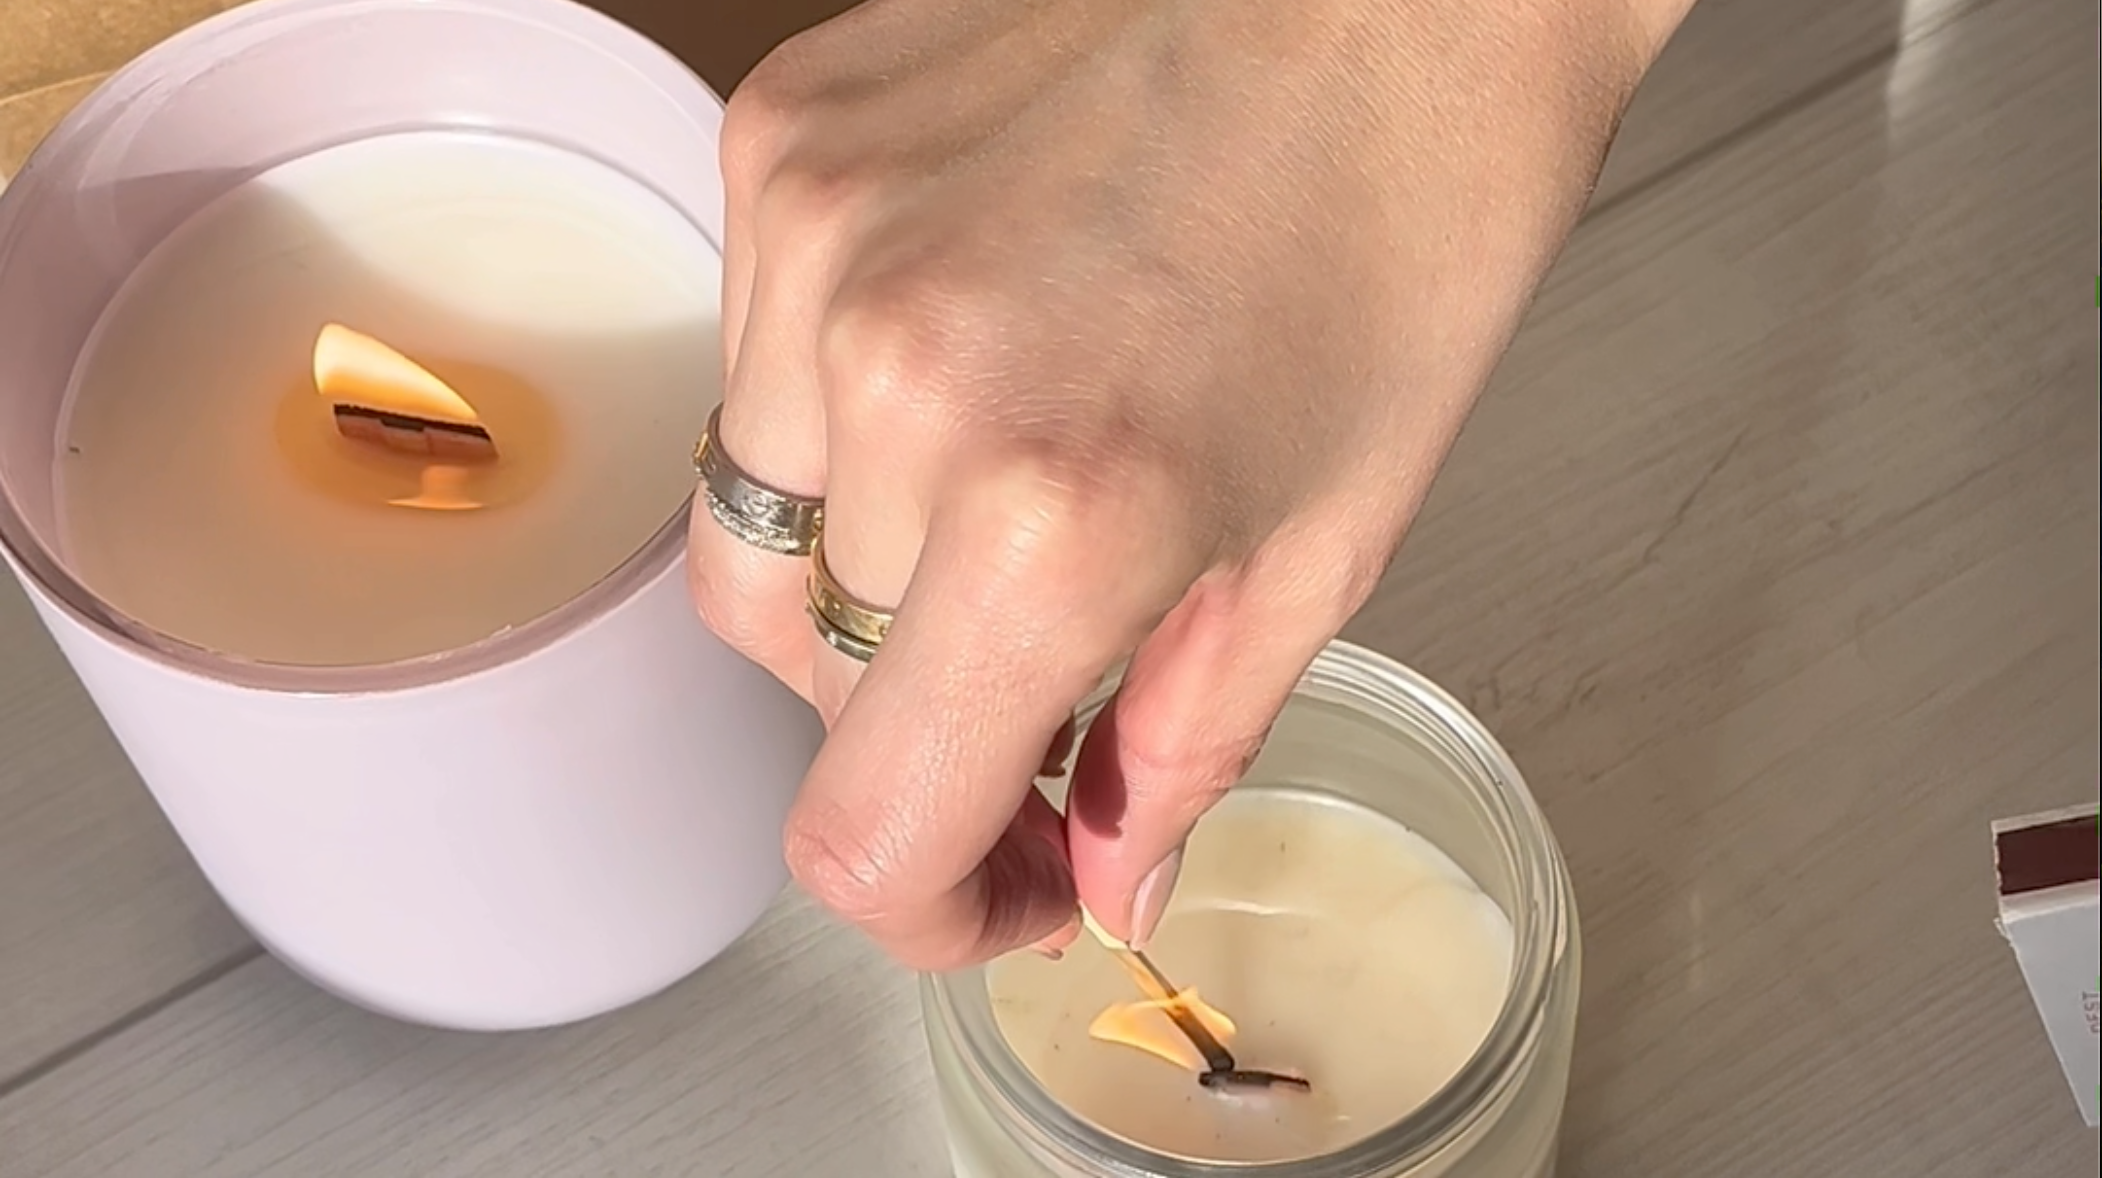
our crackling wood wick is more delicate than traditional cotton wicks
givin' you the basics
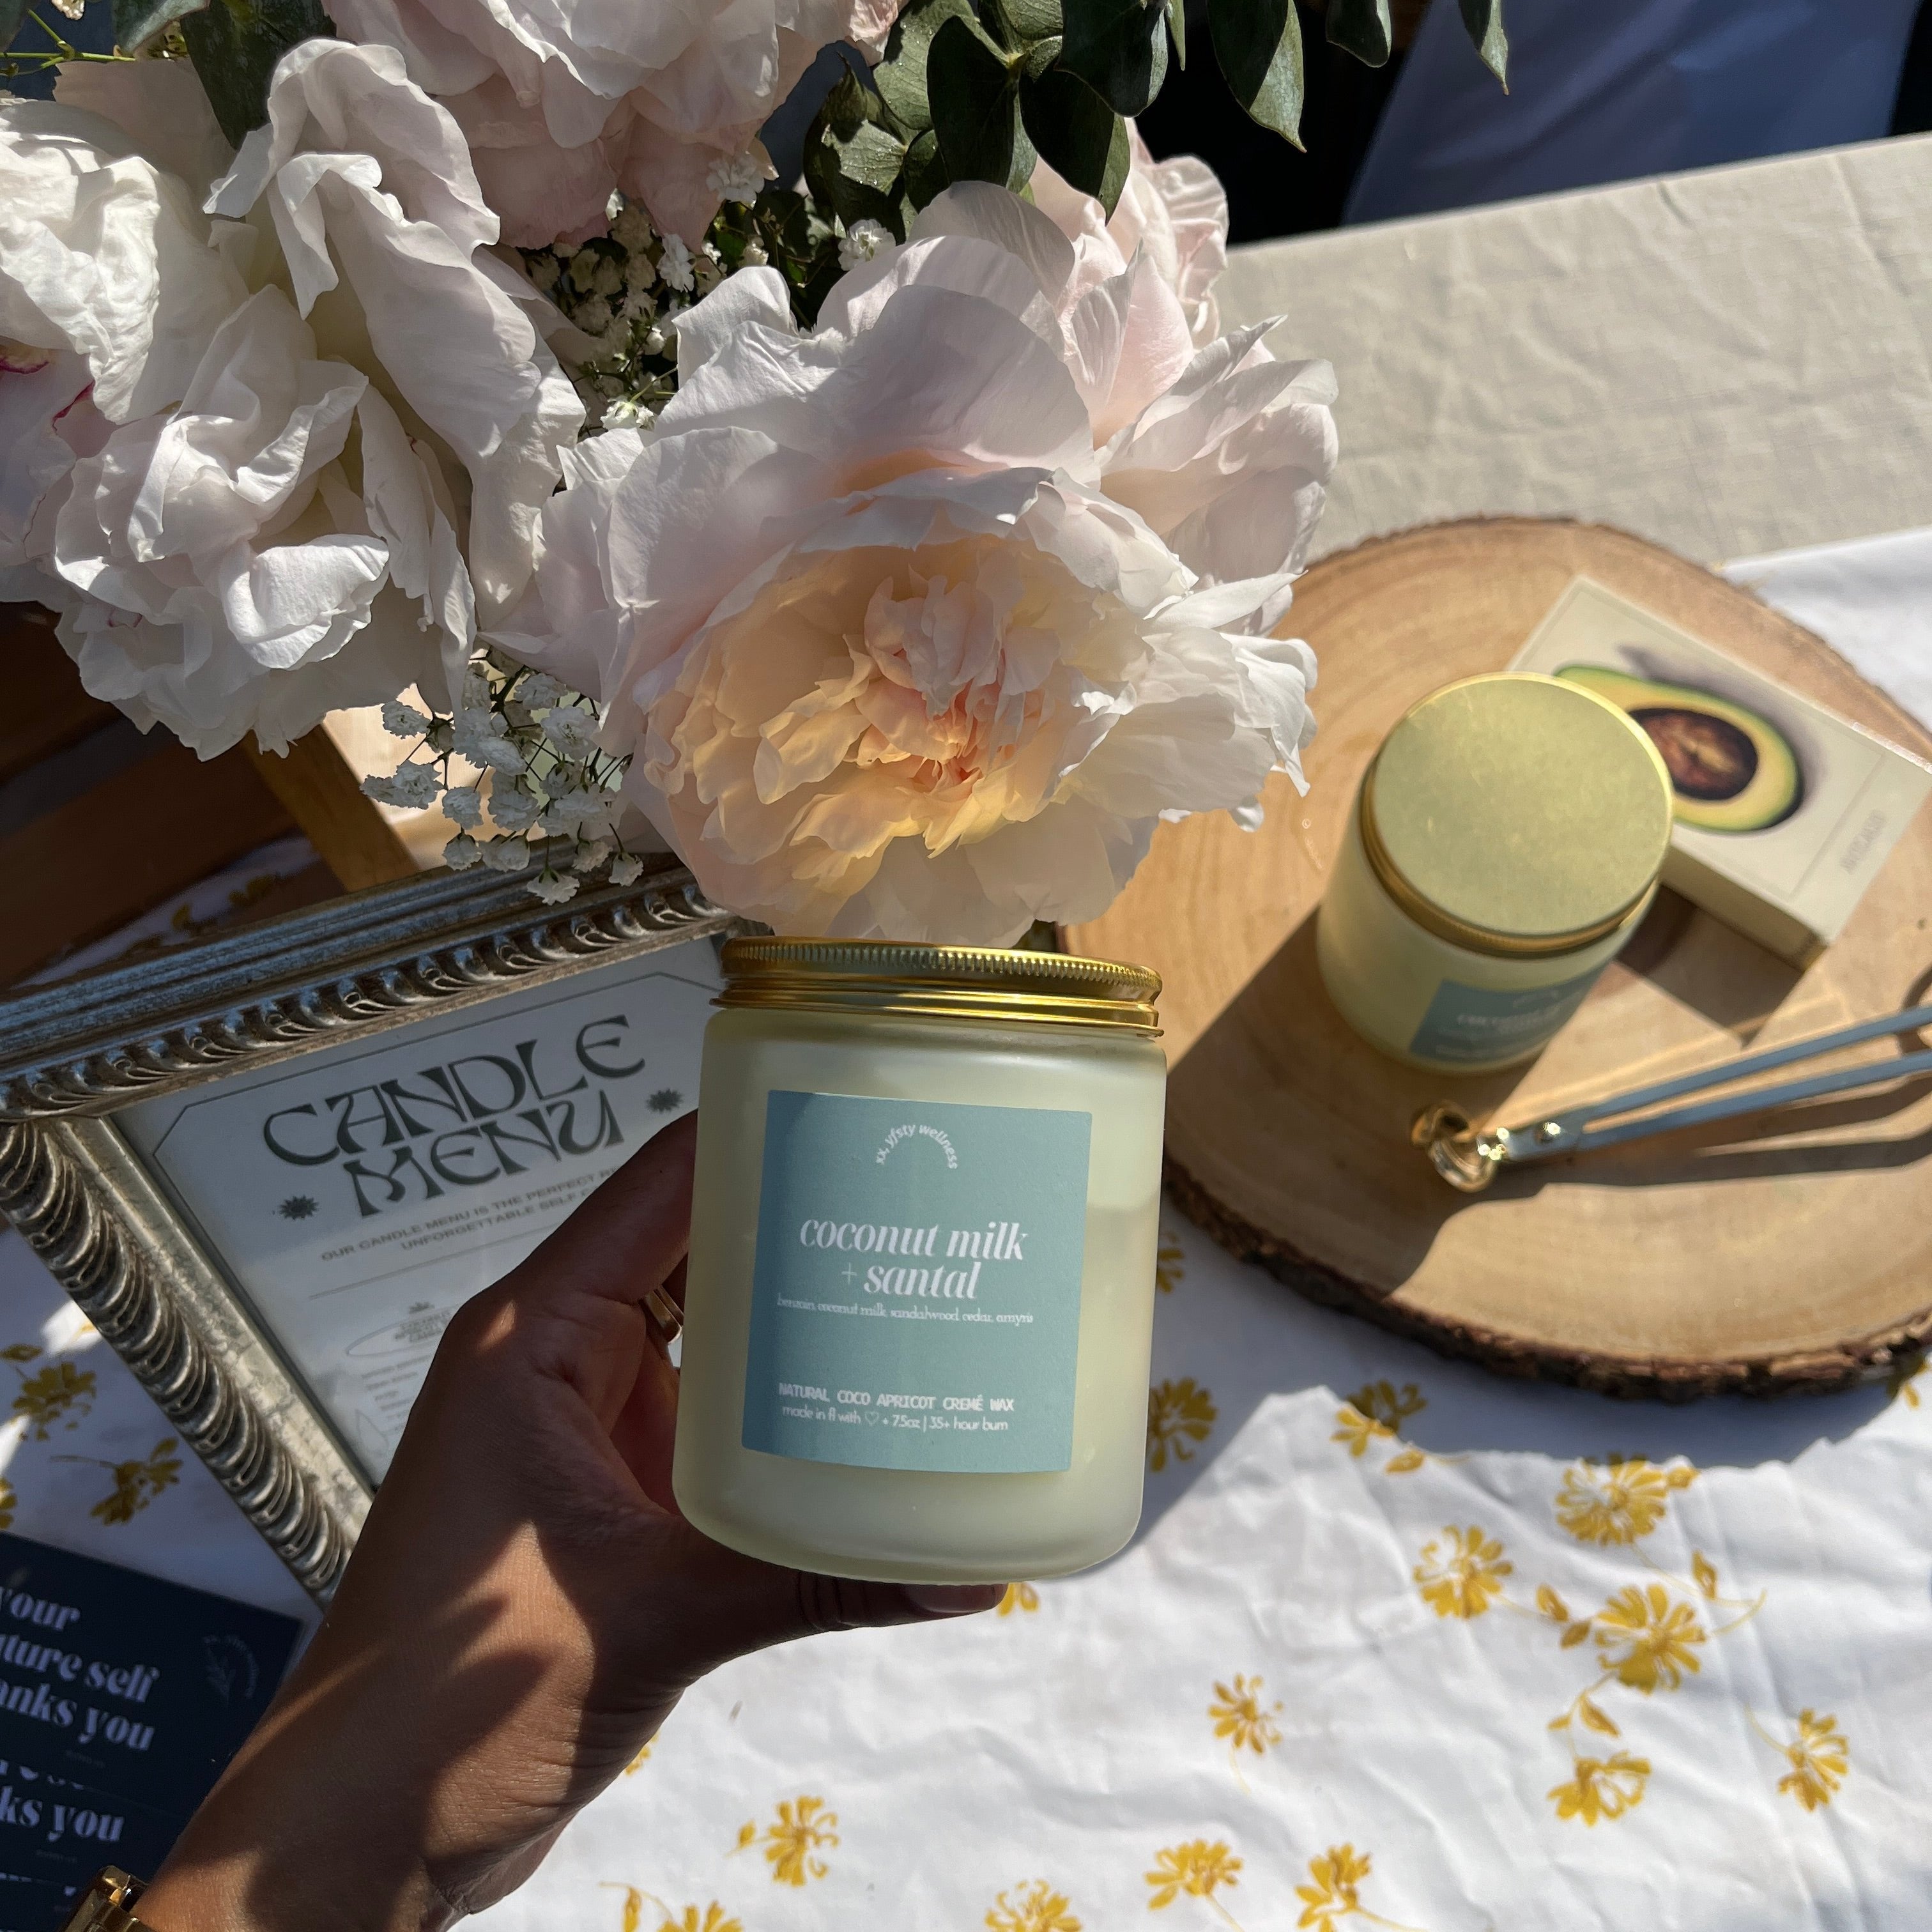
our wicks are made from native sappy fruit trees and are meticulously hand-cut and sourced by forest stewardship council (fsc)- certified manufacturers. luckily for you the differing thickness and grain of each wood wick, creates an inviting ambiance and a one-of-a-kind burn.
lets dive in on steps on guidance on properly caring for your new candle :
on the first burn…
allow the wax to fully melt until it gets to the edge! this important step creates the "candle memory" for an even burn every time. (this takes ~2 hours!)
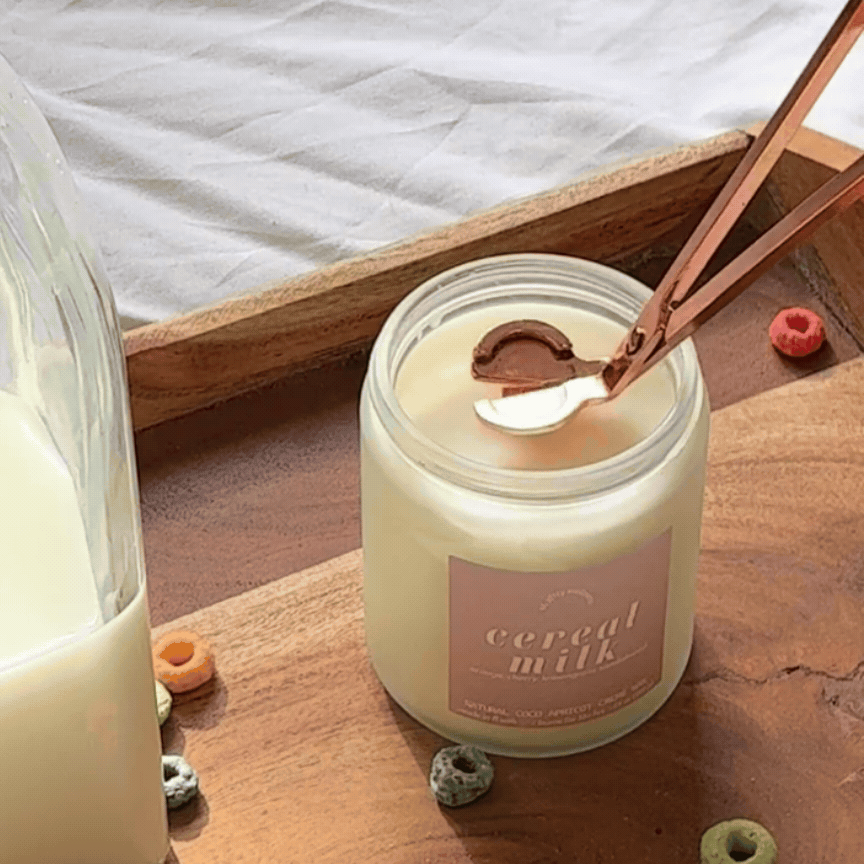
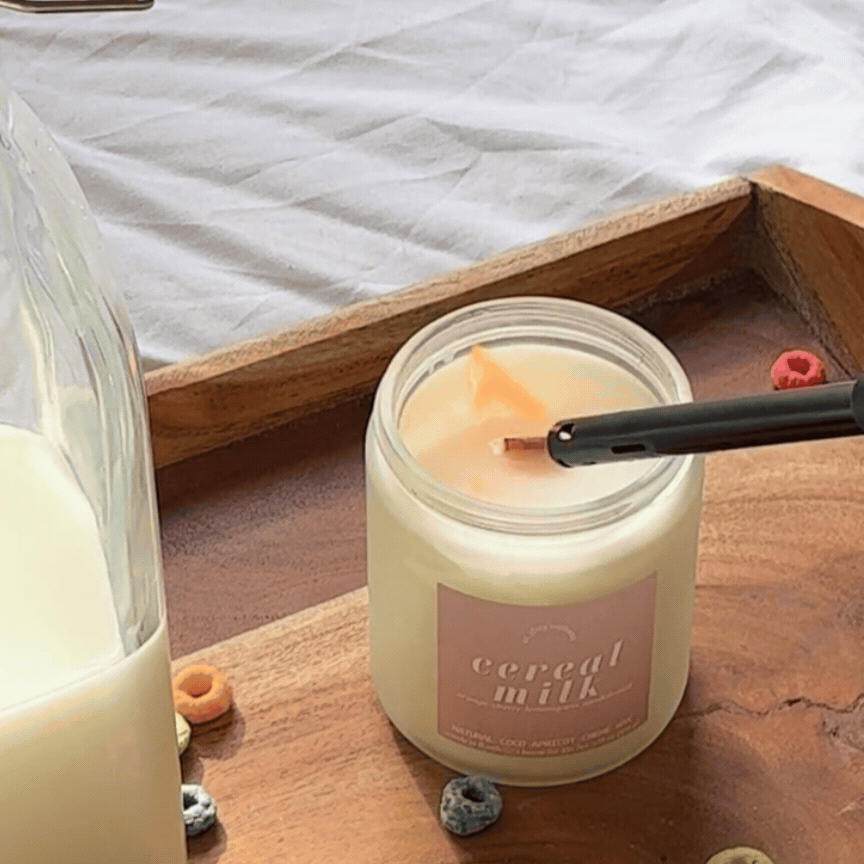
on every burn, trim the wick 1/8", a shorter wick gives a slower and more even burn! pro tip -- use a wick trimmer, nail clippers, or even your fingers.

for the best quality burn, avoid burning your candle for longer than 4+ hours at a time. discard or reuse vessel when 1/2" wax remains in the candle.
experiencing tunneling? :(
tunneling is an uneven burn, or a small circle of melted wax around the wick.
oh no! not to worry, if it is not deep -- we can fix it.
hair dryer method - extinguish the flame, then use a hair dryer on a low setting to melt the wax to the edge of the container. this removes the wax "memory" so the candle burns evenly next time.
aluminum foil method - wrap aluminum foil around the candle, leaving the top open for the flame to breathe. the heat gets reflected by the foil and after 1-2 hours of burning, the candle surface should even out.
scoop method - using a butter knife or spoon, scoop out unmelted wax until it's level with the melted part. light the candle like normal.
*dispose of wax in a nearby trash to avoid clogging drains.
burn on a flat surface.
burn at least 1 hour.
burn in draft-free area.
trim wick to 1/4 inch before each use.